How to Install the Gasland Propane Tank Top Radiant Heater: A Step-by-Step Guide
 Ever find yourself shivering in winter, nostalgia hitting you harder than a Game of Thrones finale? Nothing shakes off the cold like the Gasland Propane Tank Top Radiant Heater! This nifty gadget is a quick installation away from transforming any chilly space into a cozy retreat. Today, we’ll walk you through the installation process so you can bask in warmth and avoid those spoils of winter. Let’s get set up!
Understanding Your Gasland Heater Components
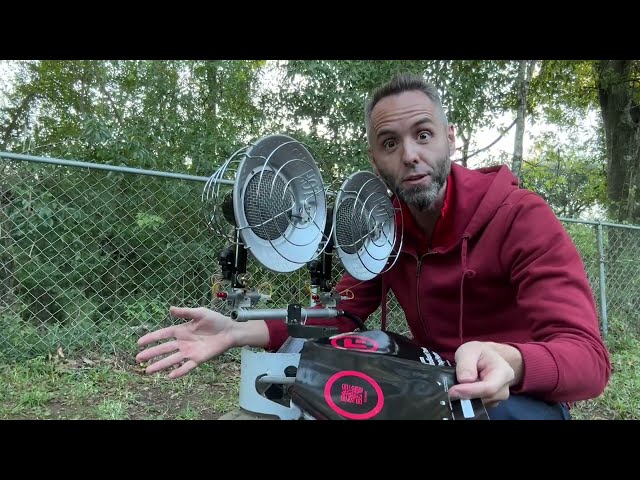
When you first open your Gasland heater box, it's like a little puzzle waiting to be solved. Inside, you’ll find mounting hardware, the heater unit, and a connector. Having a quick reference for identifying each component can make the setup a breeze, and knowing the parts helps you feel more confident about putting it all together.
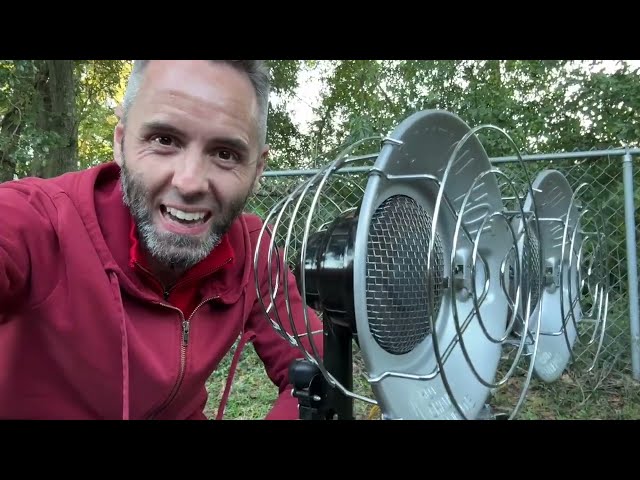
The heater design is pretty solid, featuring brass connections that promise durability and reliability. Plus, the ergonomic grip means you can easily maneuver it without feeling like you're wrestling a bear. I found this especially handy when I needed to adjust it quickly on a cold morning.
Preparing for Installation
Before jumping into installation, it's crucial to prioritize safety. Reading the manual is a must, even if you think you know your way around heaters. Making sure you have all the necessary tools at hand can save you from running around mid-setup, which I've learned the hard way.
Choosing the right installation location is key for optimal heat distribution. Whether you're setting it up in a garage or an outdoor space, consider how the heater will function in different settings. Picking the best spot can make your heating experience way more efficient and enjoyable.
Installing the Heater
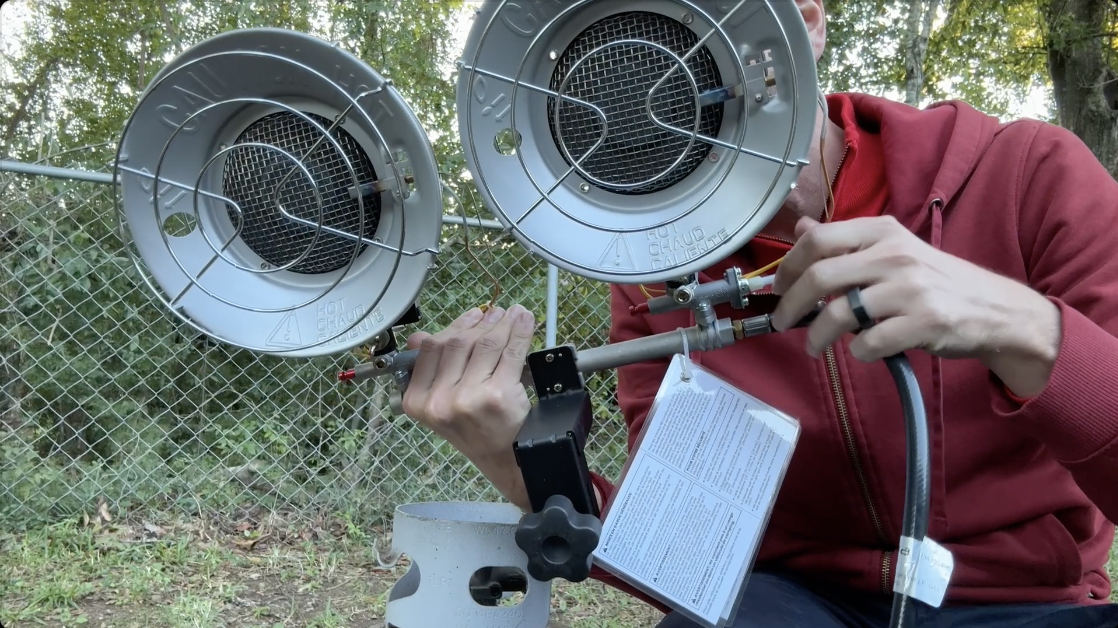
Mounting the heater is straightforward if you follow the guided steps for attaching the mount to the propane tank. Ensuring a secure fit of the heater assembly is crucial for safe operation, so take your time with this part. I found a little patience goes a long way in avoiding unnecessary hiccups.
When connecting to the propane tank, use the specialized slot system for a snug fit. The counterclockwise method for internal thread connection is something to keep in mind—it’s one of those little details that makes a big difference in getting it right. Once connected, you’re well on your way to a cozy heat source.
Testing and Using Your Heater
Before you start using your heater, conducting a safety test is a non-negotiable step. A simple leak test using a dish soap solution can help you ensure all connections are secure before you fire it up. Trust me, it’s worth the extra few minutes to avoid any surprises.
Operating the heater is as easy as pie once you get the hang of it. Follow the instructions for lighting the heater and adjusting the settings to manage heat levels based on your needs. Whether you’re heating a workshop or enjoying some outdoor coziness, this heater makes the chilly weather way more bearable.

![]() Buy Now on Amazon: https://geni.us/WfvSDH (affiliate)
Buy Now on Amazon: https://geni.us/WfvSDH (affiliate)
- Simple installation process, takes only a few minutes.
- High-quality brass connections and easy-to-turn collar.
- Maintains access to the propane tank handle for easy movement.
- Easy to attach and detach from propane tanks.
- Includes guide beads for precise mounting.
- Requires careful threading to ensure a secure connection.
- Need to check for leaks using a dish soap solution.
- Initial setup may require reading the user manual for safety.
Product Ratings:
- Understanding Your Gasland Heater Components: 4/5
- Preparing for Installation: 4/5
- Installing the Heater: 4.5/5
- Testing and Using Your Heater: 4/5
Overall Score: 4.1/5
Thank yall for reading / watching and DAD OUT!
![]() Buy Now on Amazon: https://geni.us/WfvSDH (affiliate)
Buy Now on Amazon: https://geni.us/WfvSDH (affiliate)
https://dadreviews.org/how-to-install-the-gasland-propane-tank-top-radiant-heater-a-step-by-step-guide/?feed_id=33420&_unique_id=6937ca014f8e8


Comments