Assembling a Metal Storage Shed: Part 3 - Beams & Gables in Focus
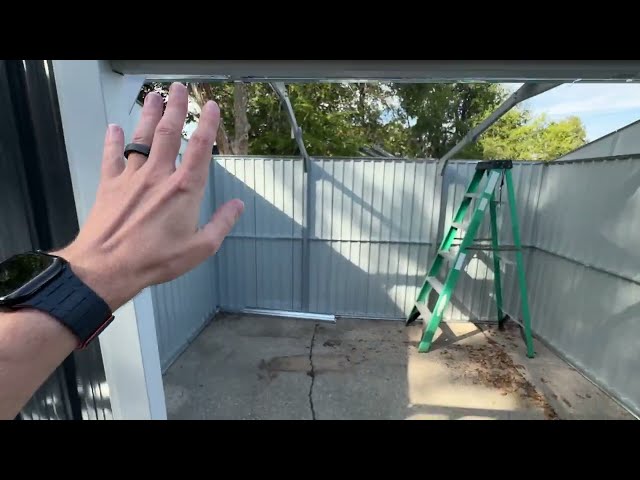
Setting Up the Main Beams
Importance of aligning beams correctly for structural integrity. Getting those beams straight is like setting the foundation for the rest of your metal shed construction. I can't stress enough how a little extra time spent here saves you headaches later. Trust me, a little patience now means your shed stands strong and steady.
Slide-in system for easy assembly. One thing I loved about the DIY metal storage kit I used was the slide-in system for the beams. It's like putting together a giant puzzle—it clicks into place almost effortlessly. This feature made the shed assembly process way smoother than I expected.
How to attach beams to support brackets. Attaching the beams to the support brackets requires a steady hand and a bit of finesse. I found that starting from one end and working my way along helped keep everything aligned. It’s all about taking it step by step without rushing.
Ensuring proper tightness for stability. When tightening the beams, it's crucial to strike a balance—not too loose, but not so tight that you risk damaging the threads. I used a wrench to make sure everything was snug, but I avoided over-tightening. This approach keeps the shed structure stable and prevents unnecessary wear.
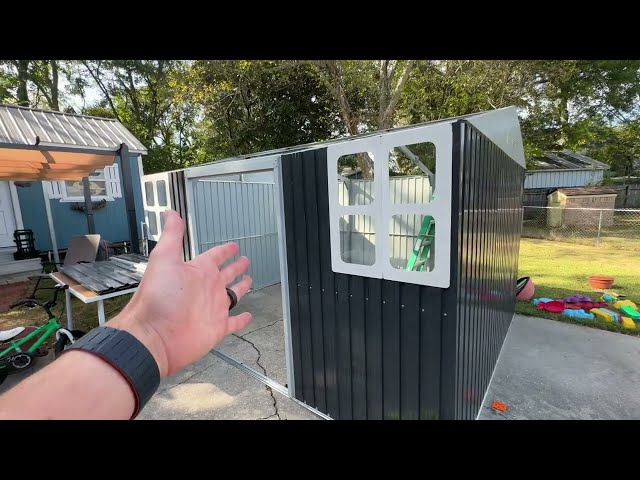
Installing the Gables
Positioning the gables on the roofline for maximum effect. The gables are a key player in the shed's design, sitting right at the roofline. Proper placement not only makes the shed look neat but also helps with water runoff. I took my time here to ensure everything lined up perfectly.
Using longer bolts for secure attachment. Longer bolts are a lifesaver when securing the gables. They make sure everything stays put, no matter the weather. I learned that it’s worth investing in high-quality bolts to avoid future headaches.
Including vents for airflow. Adding vents to the gables is a game-changer for keeping the shed ventilated. This step helps prevent moisture buildup and keeps the air inside fresh. It’s a small detail that makes a big difference in maintaining the space.
Placement of vents within the gable structure. I placed the vents strategically within the gable structure to optimize airflow. It was important to consider where air naturally flows and make adjustments accordingly. This thoughtful placement encourages a healthy, breathable environment inside the shed.
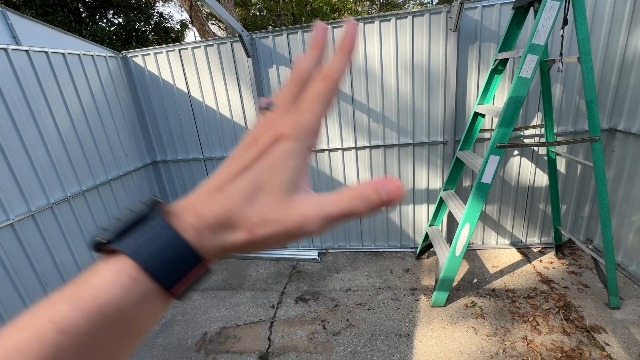
Challenges in Beam and Gable Assembly
Tips for adjustments when the ground isn’t level. If your backyard is anything like mine, it's not perfectly flat. I had to get creative with shims and a level to make sure everything was straight. It’s all about improvising with what you have to make it work.
How to compensate for slight misalignments. Sometimes things just don’t line up exactly as planned. In those cases, gentle persuasion or a little sanding can help things fit better. I learned that patience and a mallet can go a long way in solving alignment issues.
Ensuring screw holes line up correctly. Getting the screw holes to line up was one of the trickier parts. A little nudge here and there, and checking twice before drilling, made all the difference. It’s worth taking the extra time to ensure everything is aligned properly.
Strategies to fix alignment issues. When something didn't fit quite right, I found that loosening a few screws, adjusting, and then re-tightening usually did the trick. It’s about giving yourself some wiggle room to make adjustments as needed. Flexibility is key to overcoming these small obstacles.
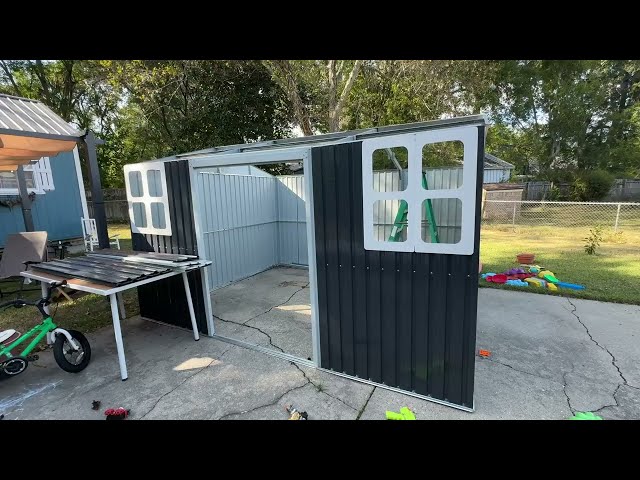
Finalizing the Roof Structure
Attaching panels at correct angles for drainage. The roof panels need to be angled just right to let rainwater flow off smoothly. I followed the instructions carefully and used a level to make sure everything was tilted correctly. This attention to detail prevents water pooling and potential leaks.
Critical alignment of pre-drilled holes and screws. Lining up the pre-drilled holes with the screws was a crucial step. I found that starting each screw loosely allowed for some movement to get everything aligned before tightening. This method ensured a snug fit without any unnecessary stress on the panels.
Benefits of clear panels for natural lighting. Clear panels are fantastic for letting in natural light, reducing the need for electric lighting during the day. I positioned them strategically to maximize sunlight while minimizing glare. This feature brightens up the shed and creates a welcoming space.
Placement for optimal light exposure. I placed the clear panels on the south side of the shed to capture the most sunlight throughout the day. It's an effective way to make the space feel open and airy. Natural lighting solutions like this also save on energy costs.
Safety and Weatherproofing Tips
Proper safety gear and protocols to follow. Safety first, always. I made sure to wear gloves and safety glasses while working to protect myself from sharp edges and flying debris. It’s about being prepared and taking precautions to avoid accidents.
Double-checking structure before proceeding to next stage. Before moving on to the next step, I always double-checked the structure for stability. Ensuring everything was secure gave me peace of mind and a solid foundation to build on. It’s better to catch any issues early on rather than later.
Overlapping pieces for improved rain resistance. Overlapping the panels slightly helps keep rainwater out. This technique adds an extra layer of protection against leaks. It’s a simple yet effective way to enhance the shed’s weatherproofing abilities.
Using caulk for extra protection, if necessary. In some spots, I added caulk to seal any small gaps. It’s an easy fix that adds an extra line of defense against moisture. This additional step ensures the interior stays dry and protected from the elements.
![]() Buy Now on Amazon: https://geni.us/IRnvI (affiliate)
Buy Now on Amazon: https://geni.us/IRnvI (affiliate)
- Sturdy metal building with a solid construction process.
- Includes vents for airflow, helping to keep the interior cool.
- Features a sunlight roof piece to allow natural light inside.
- Good overlap on panels to prevent water entry, even in heavy rain.
- Available in different sizes to suit various needs.
- Comes with detailed instructions for assembly.
- Assembly can be time-consuming, especially in hot weather conditions.
- Requires a flat surface for easier alignment of parts.
- Some screw holes may be challenging to align if the surface isn't level.
- Might need additional sealing if water intrusion occurs.
Product Ratings:
- Setting Up the Main Beams: 4.5/5
- Installing the Gables: 4.5/5
- Challenges in Beam and Gable Assembly: 4/5
- Finalizing the Roof Structure: 4.5/5
- Safety and Weatherproofing Tips: 4/5
Overall Score: 4.4/5
Thank yall for reading / watching and DAD OUT!
![]() Buy Now on Amazon: https://geni.us/IRnvI (affiliate)
Buy Now on Amazon: https://geni.us/IRnvI (affiliate)
https://dadreviews.org/assembling-a-metal-storage-shed-part-3-beams-gables-in-focus/?feed_id=32995&_unique_id=692f8c876c21b


Comments